How to make mvt with PostGIS
Since PostGIS 2.4.0 it is possible to generate mvt (Mapbox Vector Tile) out of the box. In this tutorial we will create a minimalist set of vector tiles (tileset) using PostGIS 2.4.0 and a couple of bash scripts. The tileset will have 3 layers one for each mvt geometry type: point, linestring and polygon.
Once the tileset generated we will serve the tiles and render them in your browser to see the result.
Requirements
- Bash
- Docker
Download OSM data from Geofabrik
First we need data. We are going to use a real dataset from OpenStreetMap.
Since using the planet OSM dataset would be impracticable for this tutorial, we'll use a portion of OSM. Geofabrik logically splits the planet OSM dataset into subsets. We will use the sub region Ile-de-France.
Download the sub region Ile-de-France (~240 MB) from Geofabrik:
wget http://download.geofabrik.de/europe/france/ile-de-france-latest.osm.pbf
Start PostgreSQL 10 with PostGIS 2.4
Create a docker network and run a PostGIS container
docker network create gis
docker run -d --name postgis -e POSTGRES_USER=gis --network gis mdillon/postgis:10
Import data with Imposm 3
Now we want to import the data into PostGIS. We'll use Imposm 3 for this job. Imposm 3 is a fast ETL (Extract Transform Load) tool for OSM data. The mapping and filtering between OSM data and PostGIS is defined in mapping.json
We'll import 3 tables:
adminthe administrative boundaries as linestringbuildingsthe buildings as polygonamenitiesthe amenities as point
Run the Imposm3 container to import the data into PostGIS:
docker run --network gis --rm \
-v $(pwd)/cache:/tmp/imposm3 \
-v $(pwd)/ile-de-france-latest.osm.pbf:/opt/imposm3/ile-de-france-latest.osm.pbf \
-v $(pwd)/mapping.json:/opt/imposm3/mapping.json \
jawg/imposm3 import \
-mapping mapping.json \
-read ile-de-france-latest.osm.pbf \
-overwritecache -write -connection 'postgis://gis:gis@postgis/gis'
The process can take a couple of minutes depending on your hardware.
You can explore the created tables:
import.osm_adminimport.osm_roadsimport.osm_buildings
To connect to the database run:
docker exec -it postgis psql gis gis
The tile coordinate space
Mapbox Vector Tile specifies how to encode a set of geometries and attributes as layers.
Geometries are encoded as a list of commands (MoveTo, LineTo, ...) on a grid, typically 4096x4096. This is the tile coordinate space. Before encoding the PostGIS geometries and attributes into mvt we have to convert their coordinates from web mercator to tile coordinate space.
We can achieve this using the PostGIS function ST_AsMvtGeom.
The following snippet converts the geometry coordinates into tile coordinates :
SELECT id, name, admin_level,
  substring(
    ST_AsText(
      ST_AsMvtGeom(
        geometry,               -- (1)
        BBox(16597, 11273, 15), -- (2)
        4096,                   -- (3)
        256,                    -- (4)
        true)                   -- (5)
      ),
    0, 100
  )
FROM import.osm_admin
WHERE geometry && BBox(16597, 11273, 15)             -- (6)
AND ST_Intersects(geometry, BBox(16597, 11273, 15)); -- (7)
- (1) The admin geometry
- (2) The bounds of the tile. Here we use a helper function to convert (x, y, z) tile coordinates to its web mercator bbox.
- (3) The tile extent. Here the grid dimensions will be 4096x4096
- (4) The buffer size. Here we'll have a margin of 256 grid cells in addition to the tile extent.
- (5) Clipping enabled, that is the geometries will be clipped at the grid + buffer boundaries.
- (6) Check that the bbox of the geometry overlaps the tile bbox
- (7) Check that the geometry overlaps the tile bbox
Encode as mvt
Now that we have our geometries in tile coordinates, we can encode them as mvt. We'll use the PostGIS function ST_AsMVT.
The following snippet shows how to encode a geometry as mvt :
SELECT ST_AsMVT(q, 'admin', 4096, 'geom')
FROM (
  SELECT id, name, admin_level,
    ST_AsMvtGeom(
      geometry,
      BBox(16597, 11273, 15),
      4096,
      256,
      true
    ) AS geom
  FROM import.osm_admin
  WHERE geometry && BBox(16597, 11273, 15)
  AND ST_Intersects(geometry, BBox(16597, 11273, 15))
) AS q;
ST_AsMVT creates a pbf encoded Layer from a set of rows : q.
Next we provide our layer name 'admin', then the tile extent 4096 and finally the column name of the geometry : 'geom'.
The result is a hex encoded string vector tile layer with the geometries and their attributes: id, name and admin_level.
The following snippet show the mvt generation for the layers 'buildings' and amenities :
SELECT ST_AsMVT(q, 'buildings', 4096, 'geom')
FROM (
  SELECT id, name, type,
    ST_AsMvtGeom(
      geometry,
      BBox(16597, 11273, 15),
      4096,
      256,
      true
    ) AS geom
  FROM import.osm_buildings
  WHERE geometry && BBox(16597, 11273, 15)
  AND ST_Intersects(geometry, BBox(16597, 11273, 15))
) AS q;

SELECT ST_AsMVT(q, 'amenities', 4096, 'geom')
FROM (
  SELECT id, name, type,
    ST_AsMvtGeom(
      geometry,
      BBox(16597, 11273, 15),
      4096,
      256,
      true
    ) AS geom
  FROM import.osm_amenities
  WHERE geometry && BBox(16597, 11273, 15)
  AND ST_Intersects(geometry, BBox(16597, 11273, 15))
) AS q;
Since a mvt is just a succession of multiple pbf encoded layers, creating a 3 layers vector tile is as simple as concatenating the 3 outputs.
Generating a tileset
We have all the bricks to generate our tilset.
You can use this script to generate the tiles in a small area in Paris:
./generate-tiles.sh
You should get a directory tiles with this layout tiles/{z}/{x}/{y}.pbf.
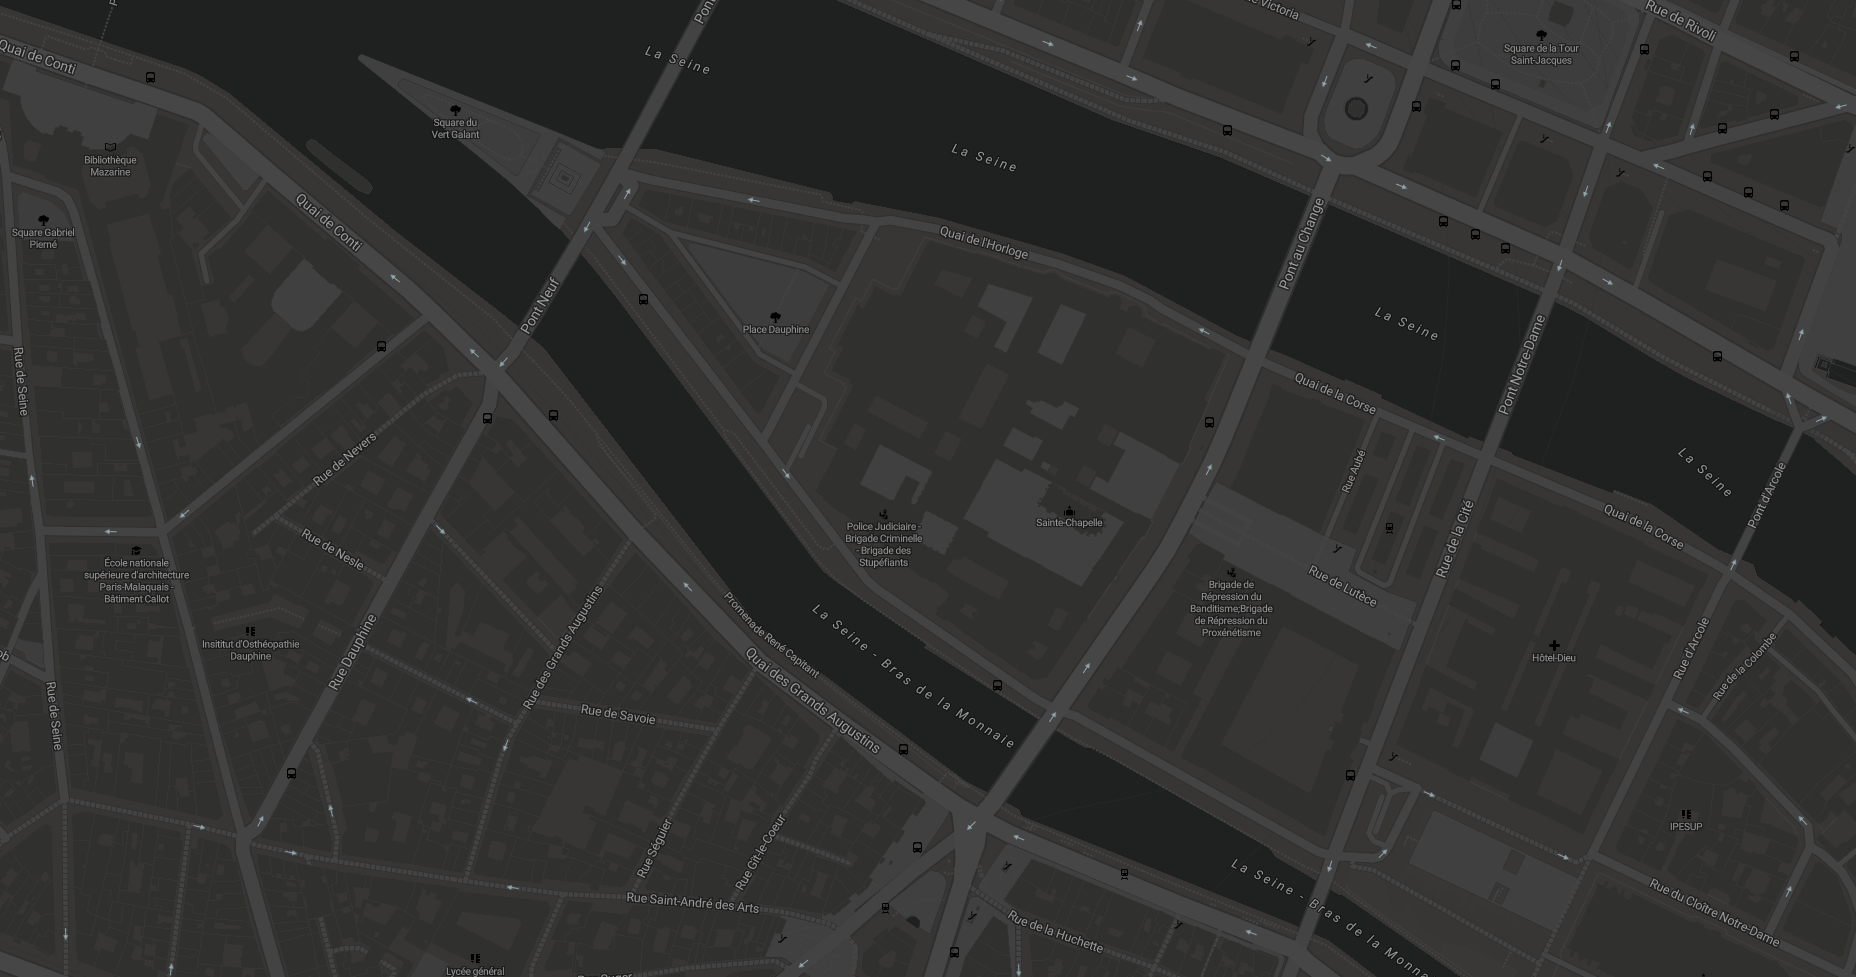
Admire the result
Let's render these tiles in our browser.
Copy this index.html in your working directory. This html page creates a mapbox-gl-js map and load a simple style that renders our 3 vector tile layers.
Start a HTTP server, for example:
python3 -m http.server
Now open your browser and type the following URL: http://localhost:8000.
You should see our 3 rendered layers:
- admin as lines
- buildings as filled polygons
- amenities points of interest as symbols